
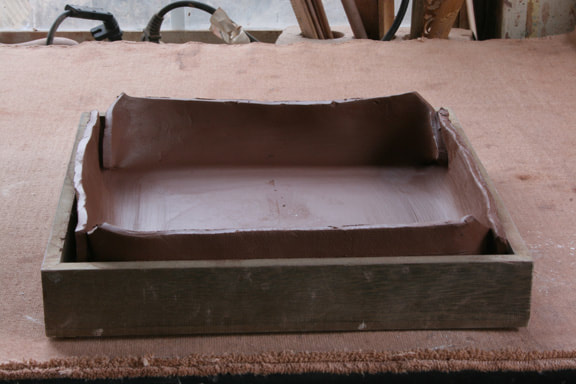
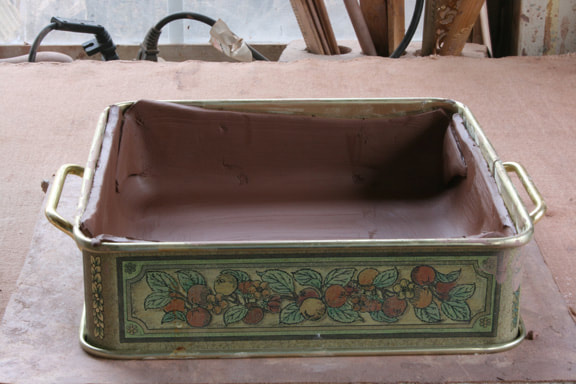
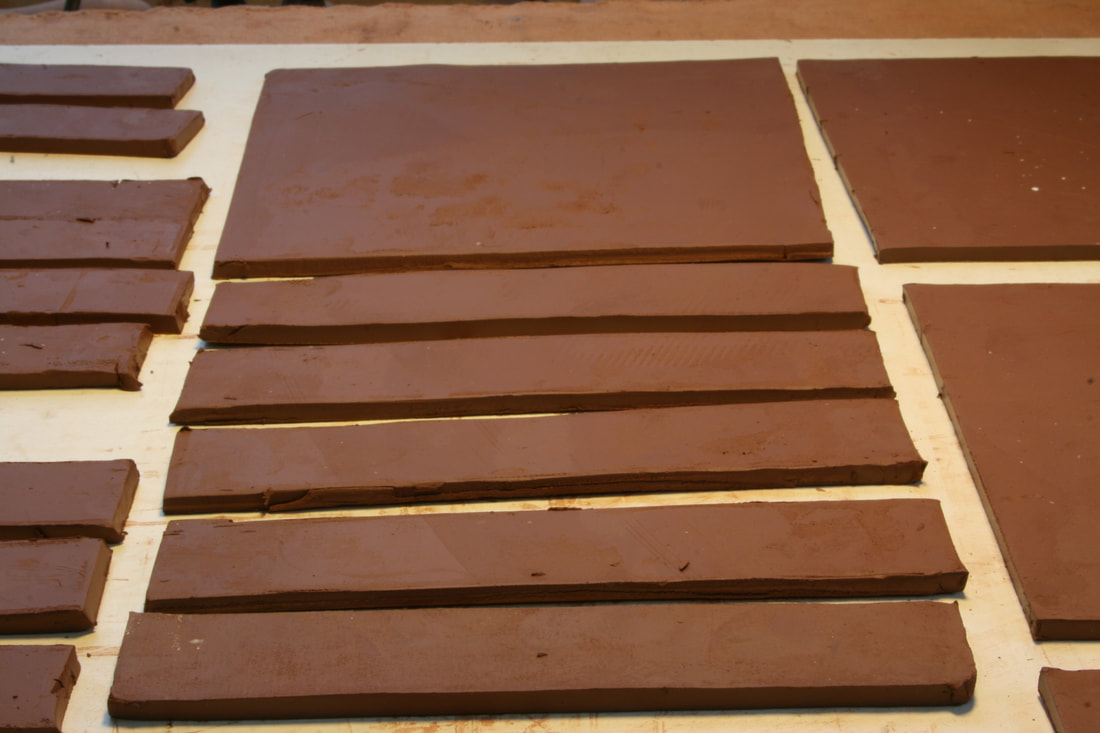
Making the tiles "the slow way" was not as time-consuming as I expected. In many ways I enjoyed the process more, was happier with the final product, and didn't have the difficulty of squaring the tile up and making all the sides even that I had with the other approach. Plus, the separate pieces make fitting the patterns on the slab easier than with one big pattern. Looks like the way to go.
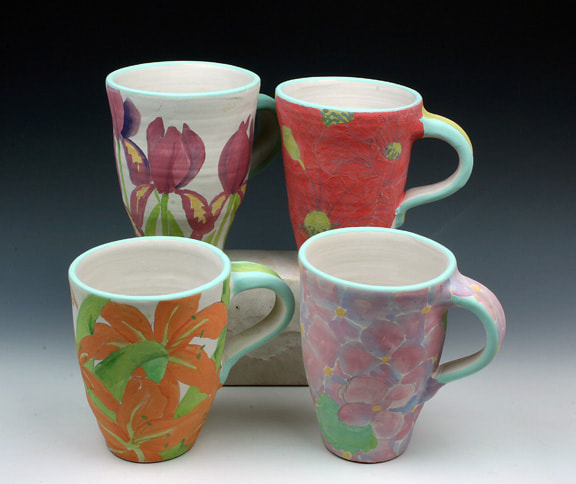
Winter, as much as I may complain (especially if it's icy) can be enjoyable and a productive time for new ideas. Shown above are the second batch of mugs I threw on the wheel to fit the travel mug lids ordered off the internet. This group - sigh - is probably too large for the lids, but great for experimenting with new ideas, especially with all this extra indoor studio time. Shown are: iris, poppy, daylily and English primrose. Except for the iris, each one took more than an hour to decorate. That's a bit long for a mug, so these ideas may work better on other pieces. After the glaze firing, the colors will deepen and the surface will be glossy.
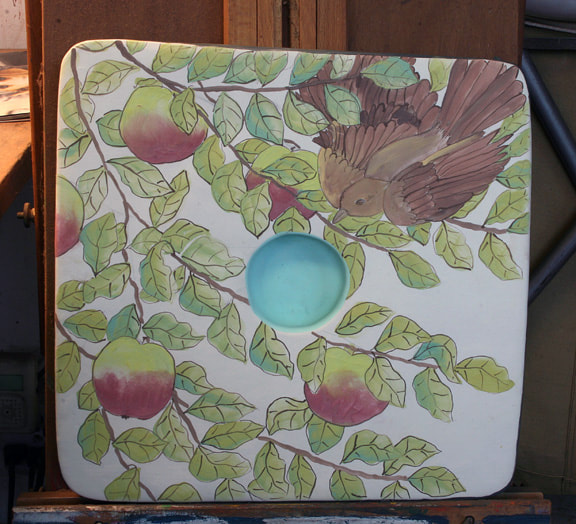
Here's the 12 x 12 x 2 tile I started the last post with. It has been fired once, dipped in the white glaze, and decorated with ceramic stains, needs one more firing to vitrify the glaze, which will make it glossy and deepen the colors. (Yes, I see it's not even.) The final step will be to epoxy a nest in the alcove.
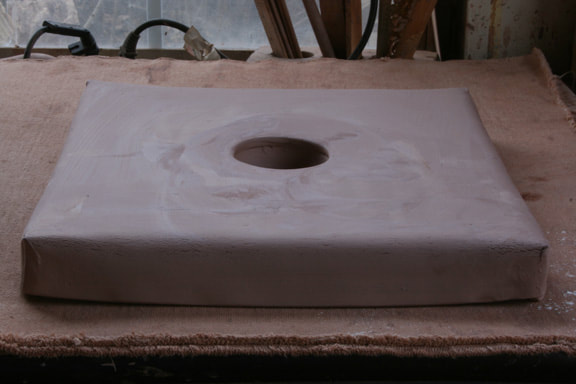
This is a design I used before on a long, oval tile and on one side of one of the square boxes.
This is a design I used before on a long, oval tile and on one side of one of the square boxes.
 RSS Feed